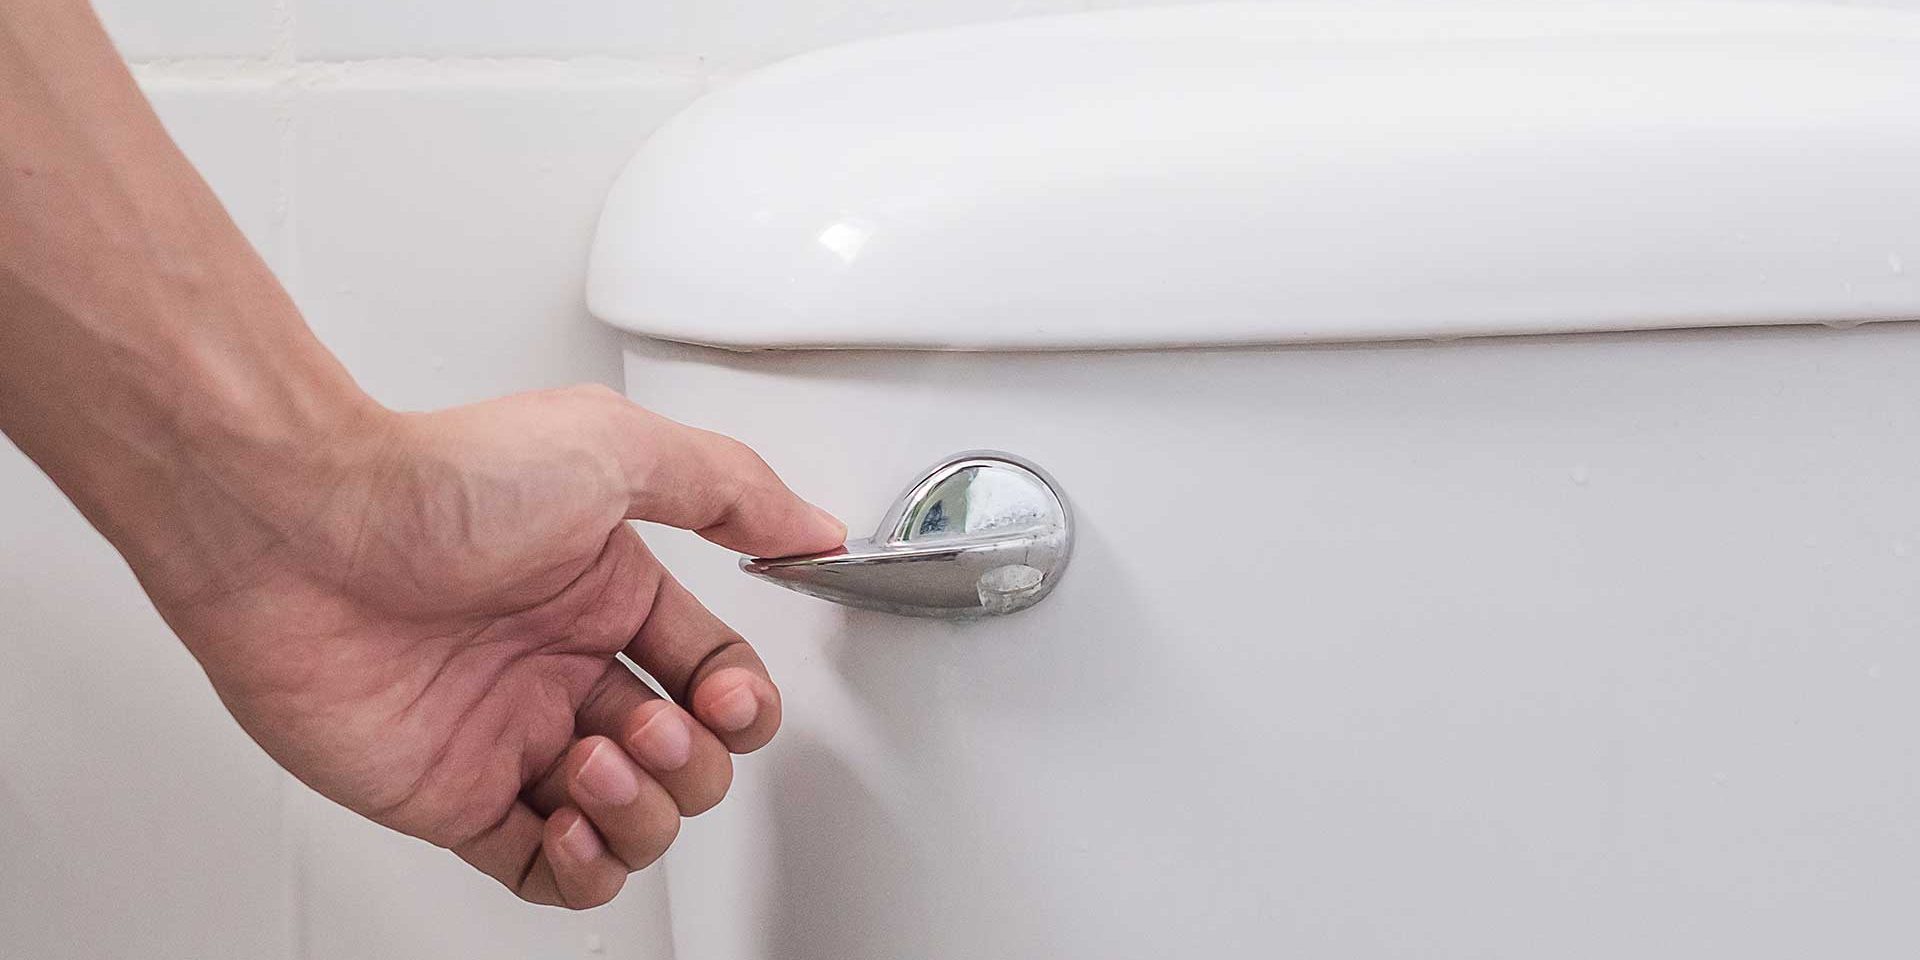
When it comes to maintaining a functional and efficient bathroom, ensuring your toilet flush handle works properly is essential. A malfunctioning flush handle can lead to various issues, including incomplete flushes and water waste. This comprehensive guide will walk you through everything you need to know to install a toilet flush handle correctly. We’ll cover types of flush handles, the tools and materials required, the installation process, troubleshooting common problems, and more.
Understanding Toilet Flush Handles
Types of Toilet Flush Handles
When you decide to install a toilet flush handle, it’s essential to understand the different types available. Lever handles are the most common, often found on the side or front of the tank. They are easy to use and come in various designs and materials. Button flush handles, typically located on the top of the tank, offer a sleek look and are common in modern toilets. Touchless flush handles use sensor technology to activate the flush, providing a hygienic option by eliminating the need for physical contact.
Pros and Cons of Each Type
Lever handles are reliable and widely used but can sometimes stick or become loose over time. Button flush handles provide a modern aesthetic but can be more challenging to install and may require more frequent maintenance. Touchless flush handles offer superior hygiene but come at a higher cost and may require battery changes or more complex installation.
Choosing the Right Flush Handle for Your Toilet
Selecting the right flush handle depends on your toilet model and personal preference. Consider factors such as ease of use, aesthetic appeal, and the level of maintenance you’re willing to perform. It’s also important to ensure compatibility with your toilet tank to avoid installation issues.
Tools and Materials Needed
Essential Tools
To install a toilet flush handle, you will need a few essential tools. These include a wrench, screwdriver, and pliers. A wrench helps in tightening nuts and bolts, while a screwdriver is necessary for removing and securing screws. Pliers can assist in holding and turning components during installation.
Recommended Materials
In addition to tools, you’ll need specific materials. A replacement flush handle kit is crucial and should match your toilet model. Plumber’s tape can help secure connections and prevent leaks. Having cleaning cloths on hand is also useful for wiping down the tank and components.
Optional Additions
For a smoother operation, consider using lubricant on moving parts. Decorative handle options can enhance the aesthetic appeal of your bathroom. These optional additions can provide extra functionality and style to your toilet flush handle installation.
Preparing for Installation
Shutting Off the Water Supply
Before you install a toilet flush handle, it’s important to shut off the water supply to prevent any accidental flooding. Locate the shut-off valve near the base of the toilet and turn it clockwise until it stops. This step ensures that no water enters the tank during the installation process.
Draining the Toilet Tank
Next, drain the toilet tank to remove any remaining water. Flush the toilet to empty the tank, then use a sponge or towel to soak up any residual water. Ensuring the tank is dry and clean will make the installation process easier and prevent any mess.
Removing the Old Flush Handle
To remove the old flush handle, start by unscrewing the nut that holds it in place inside the tank. Use a wrench or pliers to loosen the nut if it’s tight. Once the nut is removed, detach the handle and any connected components. Be mindful of potential corrosion or damage that may require careful handling.
Installing the New Flush Handle
Inserting the New Handle
Begin by inserting the new handle through the hole in the tank. Align the handle properly, ensuring it fits snugly. Secure it with the nuts and bolts provided in the flush handle kit. Tighten the nuts with a wrench to ensure the handle is firmly attached and won’t become loose over time.
Connecting the Lift Chain or Rod
Attach the lift chain or rod to the new flush handle. Adjust the length to ensure it allows the flapper to open fully when the handle is pressed but isn’t too tight. A properly adjusted chain ensures efficient flushing and prevents the handle from sticking.
Testing the Handle
After installation, test the handle to ensure it operates smoothly. Press the handle and observe the flush mechanism. If the handle feels stiff or the flush isn’t effective, make necessary adjustments to the chain or handle alignment. Proper testing ensures your toilet functions correctly after installation.
Troubleshooting Common Issues
Handle is Loose
If the handle is loose after installation, check the nuts and bolts for proper tightness. Use a wrench to tighten them securely. If the handle remains loose, inspect for any worn parts that may need replacement.
Handle is Stiff or Stuck
A stiff or stuck handle can result from dirt or debris in the mechanism. Clean the handle and surrounding area thoroughly. Applying a small amount of lubricant to the moving parts can also help ensure smooth operation.
Flush Mechanism Not Engaging
If the flush mechanism doesn’t engage when you press the handle, check the lift chain or rod. Ensure it’s connected securely and adjusted to the correct length. Also, inspect the flapper valve for any obstructions or damage that could prevent it from opening properly.
Maintaining Your Flush Handle
Regular Cleaning Tips
Regular cleaning is essential to prevent mineral buildup and ensure the smooth operation of your flush handle. Use mild cleaning agents and a soft cloth to clean the handle and surrounding area. Avoid using abrasive cleaners that can damage the handle’s finish.
Periodic Inspections
Conduct periodic inspections of your flush handle and toilet mechanism. Look for signs of wear and tear, such as corrosion or loose components. Regular inspections help identify issues early and prevent more significant problems.
Lubrication for Smooth Operation
Lubricating the moving parts of your flush handle can prevent stiffness and ensure smooth operation. Use a suitable lubricant, such as silicone spray, and apply it sparingly to the handle’s pivot points and lift chain or rod.
Upgrading to Advanced Flush Handles
Benefits of Touchless Handles
Upgrading to a touchless flush handle offers several benefits, including improved hygiene and convenience. Touchless handles use sensor technology to activate the flush, reducing the risk of spreading germs. They are also user-friendly and add a modern touch to your bathroom.
Dual-Flush Handles
Dual-flush handles are designed to save water by offering two flushing options: a full flush for solid waste and a half flush for liquid waste. Installing a dual-flush handle can reduce water usage and lower your utility bills. The installation process is similar to that of standard handles but may require additional adjustments.
Decorative Handles
Decorative flush handles come in various styles and finishes, allowing you to customize your toilet’s appearance. From sleek modern designs to classic vintage looks, there are options to suit any bathroom decor. Ensure the decorative handle is compatible with your toilet model for a seamless installation.
Environmental Considerations
Water-Saving Flush Handles
Installing water-saving flush handles is an eco-friendly choice that helps conserve water. Dual-flush and low-flow handles reduce water consumption without compromising performance. These handles are especially beneficial in areas with water restrictions or high utility costs.
Eco-Friendly Materials
When choosing a new flush handle, consider options made from sustainable or recycled materials. Eco-friendly handles not only reduce your environmental impact but also support manufacturers committed to sustainable practices.
Proper Disposal of Old Handles
Properly dispose of old flush handles to minimize environmental impact. Many components can be recycled, so check with your local recycling center for guidelines. Avoid throwing old handles in the trash, as they can contribute to landfill waste.
Case Studies and Real-Life Examples
Successful Installations
Reviewing successful installation examples can provide valuable insights and inspiration. For instance, a homeowner who upgraded to a dual-flush handle reported significant water savings and improved toilet performance. These case studies highlight the practical benefits of various flush handle options.
Common Mistakes to Avoid
Learning from common mistakes can help you avoid similar issues. For example, one common mistake is failing to adjust the lift chain properly, leading to inefficient flushing. Understanding and avoiding these pitfalls ensures a smoother installation process.
Expert Insights
Professional plumbers often share valuable tips and insights based on their experience. For instance, experts recommend using high-quality replacement parts to ensure durability and performance. Following expert advice can enhance the success of your flush handle installation project.
FAQs
- What tools do I need to install a toilet flush handle?
A wrench, screwdriver, and pliers are essential.
- How do I shut off the water supply to my toilet?
Locate the valve near the base of the toilet and turn it clockwise.
- Can I install a flush handle myself?
Yes, with the right tools and instructions, it’s a manageable DIY task.
- How do I know if my flush handle needs replacement?
Signs include difficulty flushing, a loose handle, or visible corrosion.
- What types of flush handles are available?
Lever, button, and touchless handles are common options.
- Why is my new flush handle not working properly?
Check the chain connection, handle alignment, and ensure no obstructions.
- How often should I clean my flush handle?
Regular cleaning every few weeks prevents buildup and ensures smooth operation.
- Can I upgrade to a touchless flush handle?
Yes, touchless handles are available and offer improved hygiene and convenience.
- What are the benefits of dual-flush handles?
They save water by offering two flushing options for different waste levels.
- How do I dispose of my old flush handle?
Recycle if possible, or dispose of it according to local guidelines.
Conclusion
In conclusion, learning how to install a toilet flush handle is a valuable skill that can enhance your bathroom’s functionality and efficiency. By understanding the different types of handles, using the right tools and materials, and following a step-by-step installation process, you can successfully complete this DIY project. Regular maintenance and periodic upgrades can further improve your toilet’s performance and contribute to water conservation. Whether you’re replacing a faulty handle or upgrading to a more advanced model, this guide provides all the information you need to achieve a successful installation.


